
How to Clean an Air Fryer Without Damaging the Coating (Complete 2026 Guide)
Affiliate Disclosure: This article contains affiliate links. If you purchase through these links, we may earn a small commission at no extra cost to you. We only recommend products we’d use ourselves. This helps keep the site running — thank you for your support!
Your air fryer is probably one of the most-used appliances in your kitchen — and one of the most expensive to replace if the nonstick coating gets damaged. The problem? Most people clean their air fryers the same way they clean any other cookware: soaking the basket overnight, scrubbing with abrasive sponges, or using harsh chemicals. These habits silently destroy the ceramic coating that makes air frying possible in the first place.
Based on cleaning guidelines published by major air fryer manufacturers — including Cosori, Ninja, Cuisinart, and Breville — alongside feedback from hundreds of verified Amazon buyers, one thing became clear: there’s a right way and a wrong way to clean an air fryer, and the difference can add years to your appliance’s life.
This complete guide walks you through five safe cleaning methods, the exact tools you should (and shouldn’t) use, and the most common mistakes that ruin air fryers prematurely. Whether you have a brand-new Cosori TurboBlaze or a budget model from Amazon, the principles below apply to every air fryer with a ceramic or nonstick basket.
Here’s the quick answer — followed by the complete breakdown.
How to Clean an Air Fryer Safely (Quick Steps)
Cleaning an air fryer takes less than 10 minutes when done correctly. The key is using gentle materials and skipping a few common mistakes. Here are the five steps recommended by most air fryer manufacturers — they apply to nearly every ceramic or nonstick model on the market.
- Unplug the air fryer and let it cool completely (at least 30 minutes after use).
- Remove the basket and tray, then wash them with warm, soapy water and a non-abrasive sponge.
- Wipe the interior walls and heating element with a damp microfiber cloth — never submerge the main unit in water.
- For stuck-on grease, apply a baking soda paste (mix baking soda with a small amount of water to form a thick paste), let it sit 10–15 minutes, then wipe gently.
- Dry every part thoroughly before reassembling — moisture left inside can damage the heating element.
That’s the short version. But if you want your air fryer’s coating to last for years — not months — the next sections explain why each step matters and what to avoid.
Why You Can’t Clean an Air Fryer Like Other Cookware
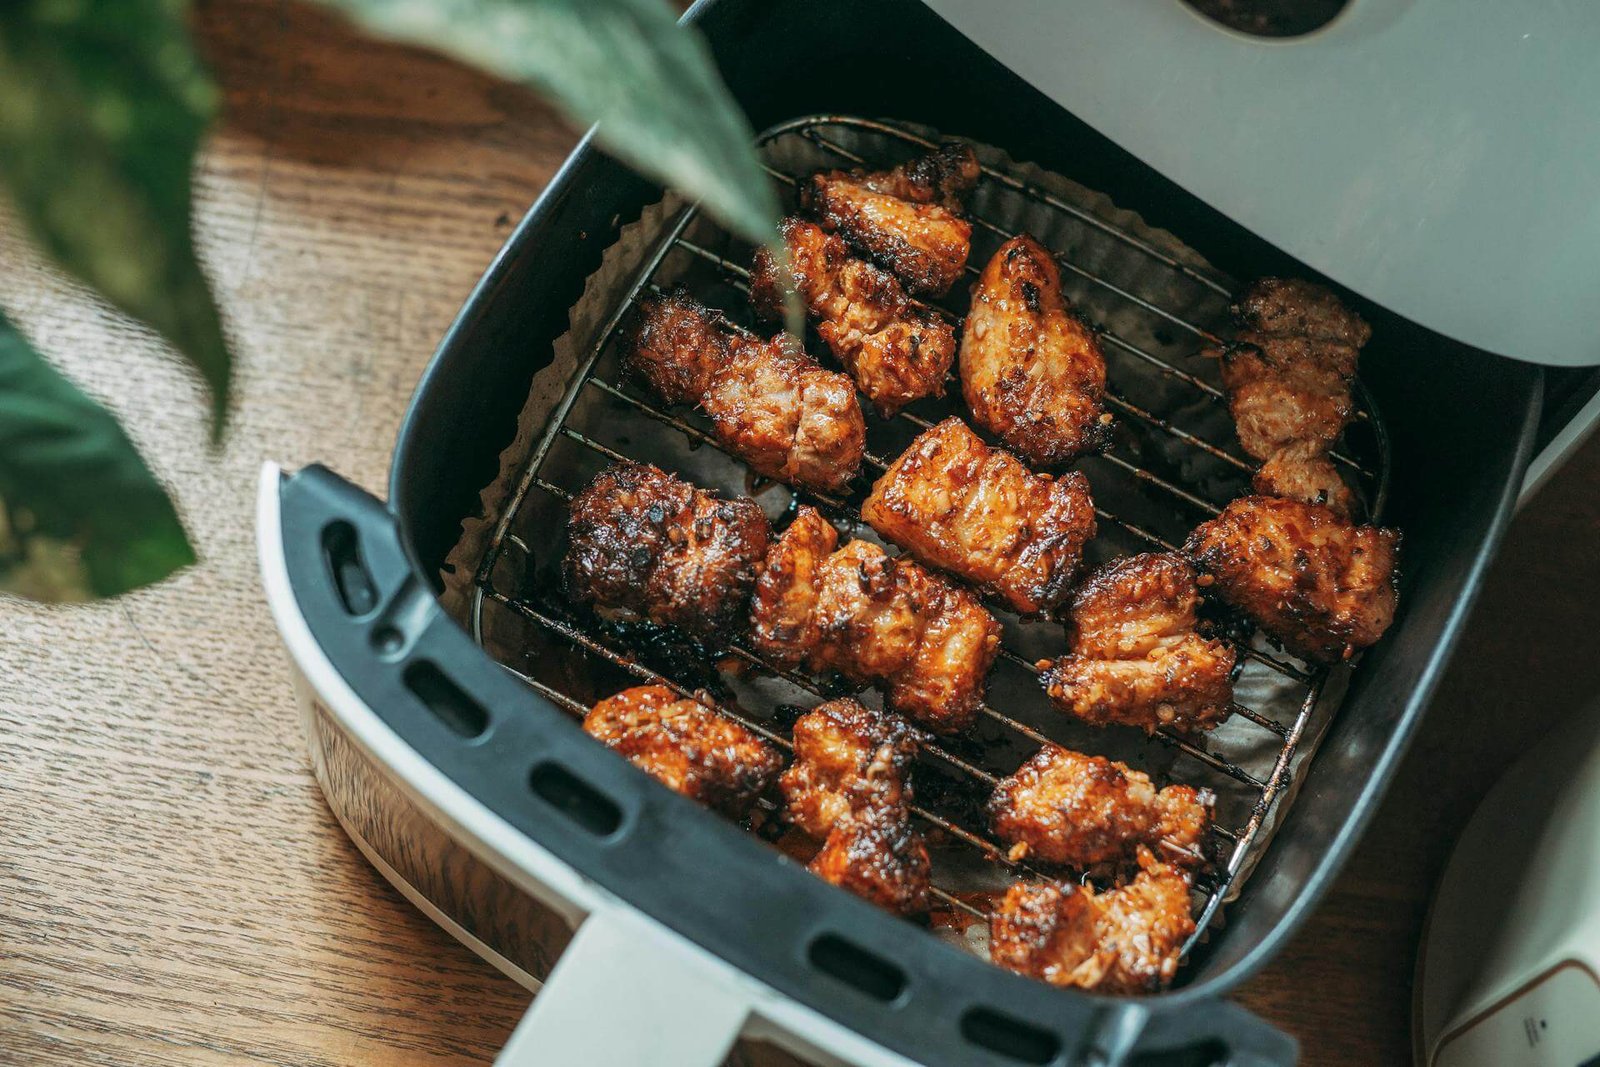
Air fryers look like simple kitchen gadgets, but their interior parts are engineered very differently from your everyday pots and pans. The basket, tray, and crisper plate are coated with a thin layer of nonstick material — usually ceramic, sometimes PTFE (Teflon) based — designed to prevent food from sticking while withstanding the air fryer’s high circulating heat (often up to 450°F).
This coating is what makes air frying possible. Without it, food would stick, burn, and require oil to release — defeating the entire purpose of the appliance. But this same coating is also surprisingly fragile. It can be damaged by abrasive materials, harsh chemicals, prolonged soaking, and even something as simple as using metal utensils inside the basket.
The 3 Most Common Mistakes That Ruin Air Fryers
Looking at common complaints discussed across Amazon reviews, Reddit’s r/airfryer community, and air fryer Q&A forums, three mistakes appear repeatedly:
1. Using abrasive sponges or scouring pads. Steel wool, green Scotch-Brite pads, and stiff-bristled brushes leave microscopic scratches in the coating. Once the surface is scratched, food starts sticking — and the damage gets worse with every use.
2. Soaking the basket for hours. Letting parts sit in soapy water overnight (a common habit for stubborn grease) weakens the bond between the coating and the metal underneath. Over time, this leads to flaking and peeling.
3. Using harsh chemicals. Oven cleaner, bleach, ammonia, and degreasing sprays are too aggressive for ceramic and nonstick surfaces. They can strip the coating completely, exposing bare metal that will rust and contaminate food.
The good news? All three mistakes are easy to avoid once you know what to look for. The cleaning methods in the next section follow the same principles used in manufacturer guidelines — gentle materials, short contact time, and the right cleaning agents for the type of residue you’re dealing with.
Essential Tools for Safe Air Fryer Cleaning
You don’t need expensive equipment to clean an air fryer properly — most of these items are probably already in your kitchen. The key is knowing which materials are gentle enough for the coating and which can cause permanent damage.
What You Should Use
Here are the five essentials that work for every cleaning method covered in this guide:
1. Soft silicone or non-abrasive sponge. Look for sponges labeled “non-scratch” or specifically designed for nonstick cookware. Silicone scrubbing brushes are even better — they’re gentle, dishwasher-safe, and last for years.
2. Microfiber cloths. These pick up grease and residue without scratching. Buy a multi-pack and dedicate a few cloths to kitchen-only use. They work for both wet and dry cleaning.
3. Baking soda. A pantry staple that handles 90% of stuck-on grease problems. Plain Arm & Hammer (or any pure baking soda) is all you need — no need for expensive specialty cleaners.
4. White vinegar. Cuts through grease and neutralizes odors. Distilled white vinegar is the safest option for nonstick coatings. Avoid using it undiluted on the heating element.
5. Warm water and dish soap. Standard mild dish soap (like Dawn) mixed with warm water handles everyday cleaning. Skip the heavy-duty degreasing formulas — they’re unnecessary and can be too harsh.
What You Should Never Use
Just as important as the right tools are the ones to keep far away from your air fryer:
- ❌ Steel wool, scouring pads, or wire brushes — guaranteed to scratch the coating
- ❌ Metal utensils for scraping food residue — use silicone or wooden tools instead
- ❌ Oven cleaner or bleach — far too harsh for nonstick surfaces
- ❌ Abrasive cleansers like Comet or Bar Keepers Friend — designed for stainless steel, not coated baskets
- ❌ Aerosol cooking sprays (PAM, etc.) — these aren’t cleaning products, but they leave a sticky residue that builds up over time and is nearly impossible to remove without damaging the coating
A quick tip: if you’ve been using cooking spray and notice sticky brown buildup that won’t come off, switch to an oil mister or olive oil sprayer designed for air fryers. It applies a fine, even mist of regular cooking oil without the additives that cause buildup.
5 Proven Methods to Clean an Air Fryer Safely
Different cleaning challenges call for different methods. A quick wipe-down after a clean cooking session is fast and easy. But when you’ve made bacon, salmon, or anything particularly greasy, you’ll need something stronger. The good news is that all five methods below use ingredients you likely already own — no expensive specialty cleaners required.
Here’s a quick comparison to help you pick the right method for the job:
| Method | Best For | Time | Difficulty |
|---|---|---|---|
| Soap + Warm Water | Daily cleaning | 5 min | Easy |
| Baking Soda Paste | Stuck-on grease | 15 min | Easy |
| Vinegar Steam | Removing odors | 10 min | Easy |
| Lemon Juice | Light refresh | 5 min | Easy |
| Boiling Water | Heating element | 20 min | Medium |
Method 1: Soap and Warm Water (Daily Cleaning)
This is the gold standard for everyday cleaning — and the method recommended by every major manufacturer. After each cooking session, fill the basket with warm (not hot) water and add a few drops of mild dish soap. Let it sit for 5 minutes to loosen any food residue, then gently scrub with a non-abrasive sponge or silicone brush. Rinse thoroughly with clean water and let everything air-dry completely before reassembling.
When to use it: After most cooking sessions when there’s no heavy grease buildup.
Method 2: Baking Soda Paste (Stuck-On Grease)
When food has been baked onto the basket and won’t come off with regular washing, baking soda is your friend. It’s mildly abrasive enough to lift residue but gentle enough to not damage the coating. Mix baking soda with a small amount of water until you get a thick, spreadable paste — similar to toothpaste consistency.
Apply the paste directly to greasy spots, focusing on stuck-on areas. Let it sit for 10 to 15 minutes (no longer, since prolonged contact can dull the coating’s finish), then gently wipe away with a damp microfiber cloth. Rinse with warm water and dry thoroughly.
When to use it: For burnt-on grease from cooking bacon, chicken wings, salmon, or anything that splatters during cooking.
Method 3: Vinegar Steam (Odor Removal)
If your air fryer holds onto smells from previous meals — fish, garlic, fried onions — vinegar steam neutralizes them without scrubbing. Add 1 cup of water and 2 tablespoons of distilled white vinegar to the basket (with the basket properly inserted). Run the air fryer at 350°F for 3–5 minutes.
The steam loosens any remaining grease while the vinegar neutralizes lingering odors. Once it’s cooled, wipe the interior with a clean microfiber cloth. The smell of vinegar disappears within an hour or two.
When to use it: When the air fryer smells like the last thing you cooked — or anytime you want a deeper clean without disassembly.
Method 4: Lemon Juice (Light Refresh)
For a fresh, natural cleaning option, lemon juice cuts through light grease and leaves a clean scent. Mix the juice of half a lemon with a cup of warm water. Use a microfiber cloth to wipe down the interior walls and basket. The natural acidity helps dissolve grease without harsh chemicals.
This isn’t strong enough for heavy buildup, but it’s perfect for routine maintenance between deeper cleans — and it leaves the air fryer smelling pleasant.
When to use it: Between deeper cleans, or when you want a chemical-free refresh.
Method 5: Boiling Water (Heating Element)
The heating element at the top of the air fryer is the trickiest part to clean — you can’t submerge it, and it collects splattered grease over time. Here’s a manufacturer-approved trick: pour 1 cup of boiling water into the empty basket (basket inserted into the air fryer body), close it, and let the residual heat steam the heating element for about 5 minutes.
Once cooled, use a damp microfiber cloth wrapped around your finger or a soft toothbrush to gently wipe the heating coil. Never use water directly on the element while plugged in, and always let it dry completely before using the air fryer again.
When to use it: Once a month, or whenever you notice smoke or a burning smell during cooking (a sign of grease buildup on the element).
Each of these methods uses gentle, food-safe ingredients that won’t damage the ceramic or nonstick coating when used correctly. The key is matching the method to the mess — light cleaning for daily use, stronger methods for occasional buildup. With consistent care, your air fryer should last five years or more without coating issues.
Now let’s break down exactly how to clean each part of the air fryer step by step.
How to Clean Every Part Step-by-Step
The methods above work best when you target the right cleaning approach to each component. Here’s a part-by-part breakdown so nothing gets missed — and nothing gets damaged.
Cleaning the Basket
The basket is where most of the grease and food residue collects, so it needs the most attention. Remove it from the air fryer and rinse off any loose crumbs into the trash (never the sink — bits of food can clog the drain).
For everyday cleaning, hand-wash with warm soapy water and a non-abrasive sponge. For stuck-on residue, apply baking soda paste, let it sit 10–15 minutes, then wipe away gently.
While many modern baskets (including most Cosori, Ninja, and Cuisinart models) are technically dishwasher-safe on the top rack, hand-washing extends the coating’s lifespan. Reserve the dishwasher for occasional deep cleans only.
Cleaning the Tray and Crisper Plate
The crisper plate (the perforated insert that sits inside the basket) is what gives air-fried food its signature crispy texture. Food particles love to get stuck in those holes.
Soak the plate in warm soapy water for 5–10 minutes to loosen debris. Use a soft-bristled brush or silicone scrubber to clean between the holes — never a wire brush. For burnt-on spots, dab on baking soda paste, wait 10 minutes, and wipe clean.
If your model has a separate tray (catches grease drippings under the basket), clean it the same way. Don’t skip this part — accumulated grease there can cause smoking during your next cook.
Cleaning the Heating Element
The heating element sits at the top of the cooking chamber and is the part most people forget. Over time, splattered oils can carbonize on the coil, causing smoke or off-flavors.
First, make sure the air fryer is unplugged and completely cool. Use a damp (not wet) microfiber cloth to gently wipe the coil. For stubborn buildup, slightly dampen the cloth with a 50/50 mix of water and white vinegar — but wring it out well first.
Never spray cleaner directly onto the element, and never submerge or rinse the heating chamber. The boiling water steam method (described above) works well for occasional deeper cleaning.
Cleaning the Interior Walls
The walls inside the cooking chamber catch a surprising amount of grease splatter. After unplugging the unit, wipe the interior walls with a damp microfiber cloth.
For greasy buildup, use the same cloth dampened with a mixture of warm water and a few drops of dish soap. Follow up with a clean, damp cloth to remove any soap residue, then dry completely before plugging the unit back in.
Cleaning the Exterior
The outside of the air fryer is the easiest part — but don’t forget it. Fingerprints, grease splatters, and dust all build up over time. Wipe the exterior with a damp microfiber cloth and a small amount of mild dish soap.
For stainless steel models, finish by buffing with a dry microfiber cloth in the direction of the grain. Avoid abrasive cleaners or sprays containing ammonia — they can damage the finish over time.
How to Make Your Air Fryer Coating Last Longer
Cleaning is only half the equation. The way you cook with your air fryer plays just as big a role in how long the coating lasts. These five habits — based on manufacturer recommendations and feedback from long-time air fryer owners — can extend your air fryer’s useful life by years.
1. Use an oil sprayer instead of pouring oil. Pouring oil directly into the basket leaves uneven puddles that bake into sticky residue over time. A fine mist coats food evenly with a fraction of the oil. If you don’t have one yet, an olive oil sprayer designed for air fryers costs less than $20 and pays for itself in saved oil and cleaner cooking.
2. Skip aerosol cooking sprays. Cans of PAM and similar sprays contain additives (like soy lecithin and propellants) that turn into a gummy brown residue when heated repeatedly. This residue is nearly impossible to remove once it bonds to the coating. Stick to plain oil applied with a sprayer or brush.
3. Use parchment paper or silicone liners. For especially messy foods (cheese-stuffed items, marinated meats, anything with sugary glazes), a perforated parchment liner or reusable silicone basket liner catches the mess and extends time between deep cleans. Just make sure the basket isn’t empty when you preheat — paper can blow into the heating element.
4. Don’t preheat empty for too long. Some recipes call for preheating, but running the air fryer empty at high temperatures for more than 3–5 minutes stresses the coating unnecessarily. If preheating is recommended, do it briefly.
5. Cool before cleaning. Hot coating is more vulnerable to thermal shock and chemical reactions. Always wait at least 30 minutes after cooking before introducing water, soap, or cleaning agents. This single habit alone prevents most micro-cracking in ceramic coatings.
Common Cleaning Problems (And How to Fix Them)
Even with the right methods, certain problems keep coming up. Here are the five most common issues — and how to handle each one without making things worse.
“My coating is peeling. Can I still use the air fryer?”
Once a coating starts flaking, the air fryer should be replaced. Peeling coating means food is now contacting bare metal, which can rust, leach into food, and cause uneven cooking. While small surface scratches are usually fine, visible flaking is a safety concern. If your air fryer is under warranty, contact the manufacturer — many brands replace defective units within the first year.
“I can’t remove burnt-on residue, even with baking soda.”
For extreme buildup, try the boiling water + vinegar steam method described above. If that fails, a cream of tartar paste (mixed with water) is slightly more abrasive than baking soda but still safe. Never use steel wool or metal scrapers, no matter how stubborn the residue is.
“The smell won’t go away.”
Run a vinegar steam cycle (1 cup water + 2 tbsp white vinegar at 350°F for 5 minutes), then leave the basket out overnight to air-dry. For persistent odors, place a small bowl of baking soda inside the closed (unplugged) air fryer for 24 hours.
“There’s white residue after cleaning.”
This is usually mineral buildup from hard water or soap that wasn’t fully rinsed off. Wipe with a damp cloth dipped in distilled white vinegar, then rinse with clean water and dry completely.
“The heating element looks black.”
Light blackening from carbonized grease is normal and generally safe to cook with. Use the steam-cleaning method to remove what you can. If you see flaking metal or rust spots, however, the unit needs to be replaced.
Frequently Asked Questions
Can you put air fryer parts in the dishwasher?
It depends on your brand. Cosori, Ninja, and most major air fryer brands now make their baskets, trays, and crisper plates dishwasher-safe on the top rack. Always check your specific model’s manual before placing parts in the dishwasher. That said, frequent dishwasher use can shorten the lifespan of the nonstick coating over time, even on dishwasher-safe parts. For best results, hand-wash the basket and tray with warm, soapy water — and reserve the dishwasher for occasional deep cleans.
How often should you clean an air fryer?
Wipe down the basket and tray after every use. Do a deeper clean (interior walls + heating element) every 5–7 cooking sessions, or anytime you notice grease buildup, smoke, or lingering smells. Heavy users (cooking daily) should plan a thorough monthly cleaning, including the heating element.
What is the best way to clean a really dirty air fryer?
For heavy buildup, combine multiple methods. Start with a baking soda paste on the basket (15-minute soak), then run a vinegar steam cycle to loosen interior residue, and finish by wiping the heating element with a damp microfiber cloth. Avoid the temptation to soak the basket overnight — extended contact with water weakens the coating’s bond.
What dissolves baked-on grease in an air fryer?
Baking soda paste is the safest and most effective option. Its mild abrasiveness lifts grease without scratching the coating. For extra strength, mix baking soda with a few drops of dish soap and a small amount of water. Apply to greasy spots, wait 10–15 minutes, then wipe away with a damp cloth.
Can I use vinegar to clean my air fryer?
Yes, distilled white vinegar is safe for ceramic and nonstick air fryer coatings when used correctly. Use it diluted (1 part vinegar to 1 part water) for wiping interior surfaces, or in a steam-cleaning method to remove odors. Avoid using undiluted vinegar directly on the heating element or for extended soaking — both can dull the coating’s finish over time.
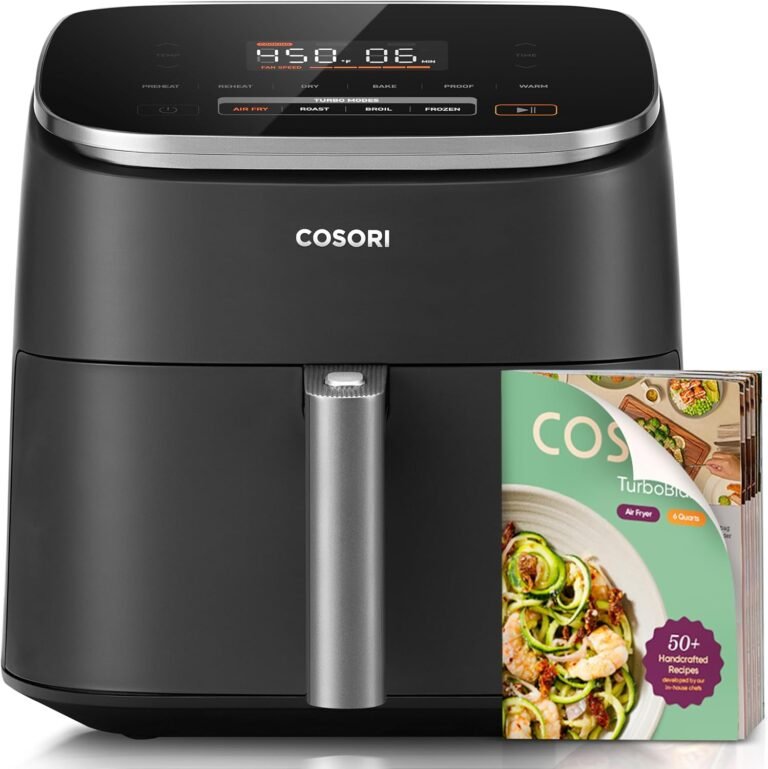
How do I clean a Cosori air fryer specifically?
Cosori’s official guidelines recommend unplugging and cooling the unit, then washing the basket and crisper plate with warm soapy water (or in the dishwasher on the top rack). For grease, they recommend baking soda paste. The interior walls and heating element should be wiped with a damp soft cloth only — never submerged. For a complete review of Cosori’s flagship model, see our Cosori TurboBlaze Air Fryer review.
Should I clean my air fryer after every use?
You don’t need a full deep clean after every use, but a quick wipe-down is essential. Letting grease and food residue accumulate makes future cleaning much harder and can cause smoke during your next cooking session. A 2-minute wipe-down with a damp cloth after each use prevents 90% of cleaning problems.
The Bottom Line: Maintenance Tips That Last
A well-maintained air fryer can easily last five years or more — but only if it’s cleaned the right way. The key takeaways: use gentle materials, skip abrasive sponges and harsh chemicals, address grease quickly before it bakes on, and reserve the dishwasher for occasional deep cleans even when parts are technically dishwasher-safe.
Most cleaning challenges come down to two habits: cleaning too aggressively, or letting buildup go too long between cleans. Stick to the methods above, and you’ll avoid both extremes.
If you’re still shopping for a reliable air fryer with a durable ceramic coating, our Cosori TurboBlaze Air Fryer review breaks down what makes a quality air fryer worth the investment — and which features matter most for long-term durability.


3 Comments